|
|
Post by Mod City on Aug 13, 2012 15:40:59 GMT -5
Thanks, spice. I'd love to be able to do this stuff full time, but there's just not that much demand for it outside the hobby world. Plus, there's a ton of stuff that I have no clue about and would need to research for a long, long time. Not sure if you noticed but I don't own Beatniks, Cosmic Princess or Hercules machines (all pics taken from the Internet). I just kind of thought they'd make a good MST3K themed corner. Hopefully an upcoming post will also bump this to three pages so a person doesn't have to scroll down a half-mile to read the latest post. Aha - mission accomplished  |
|
|
|
Post by nondescript spice on Aug 13, 2012 16:40:35 GMT -5
and you were the upcoming poster, congrats. oh, i knew you didn't actually own those machines - i'm sure you wish you did, though. i'd love that beatniks one. i loved how stoners weren't really portrayed as stoners when it came to commercializing them - "beatniks" looked and acted stoned, but without the drug references or illustrations, they just came off as sleepy, stupid people. |
|
|
|
Post by Mod City on Dec 6, 2012 13:01:24 GMT -5
Time for an update. Right now the main focus in the arcade is getting the Rollergames up and running 100 percent. The big problem is a pair of levers at the back of the game that change the direction of the ball on the ramp are not working. It’s kind of a complicated little system. 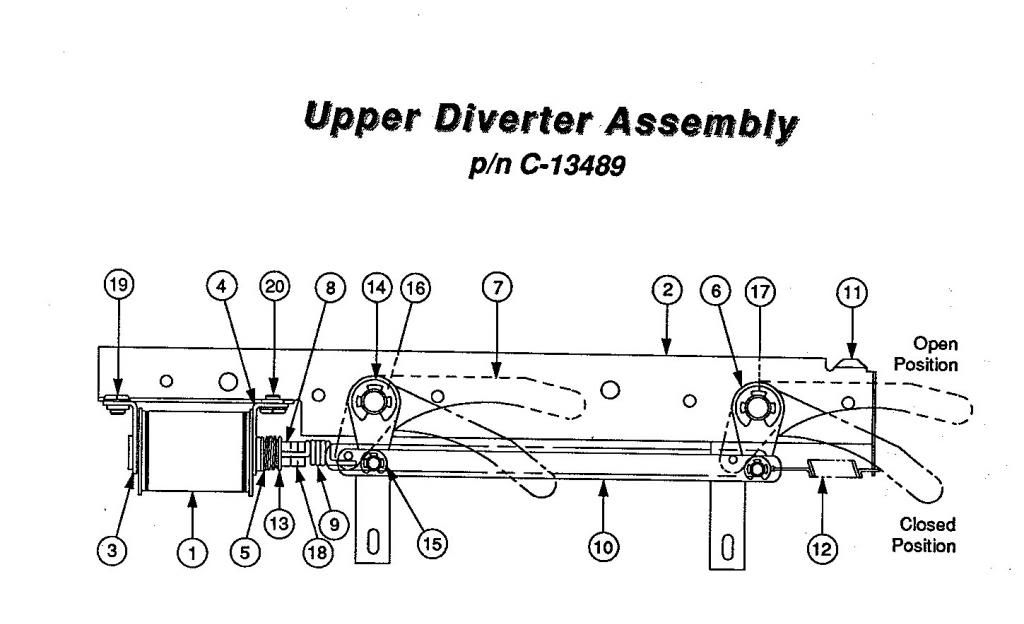 This is the manual diagram of the assembly. The coil on the left fires and moves the actuator arm which rotates the levers that redirect the ball. Kind of Rube Goldbergish, but that’s kind of pinball for you. It’s almost impossible to take a picture of the actual thing because it’s practically wedged way in the back of the cabinet underneath the backbox. The fact that we could work on it at all without taking the playfield out entirely is a bit of a miracle. We will have to remove the playfield to do all the work we want to do, and we’ll probably take that step next time we dig into it. Several of the parts to the right of the coil (around parts 5, 13, 18 and 9) were missing. Two springs were missing and the wrong kind of coil was installed. Something apparently happened to the mechanism at some point and whoever fixed it decided to connect the solenoid from the coil directly to the actuator arm when there are supposed to be a couple of springs in there. Well, this is not a good idea. 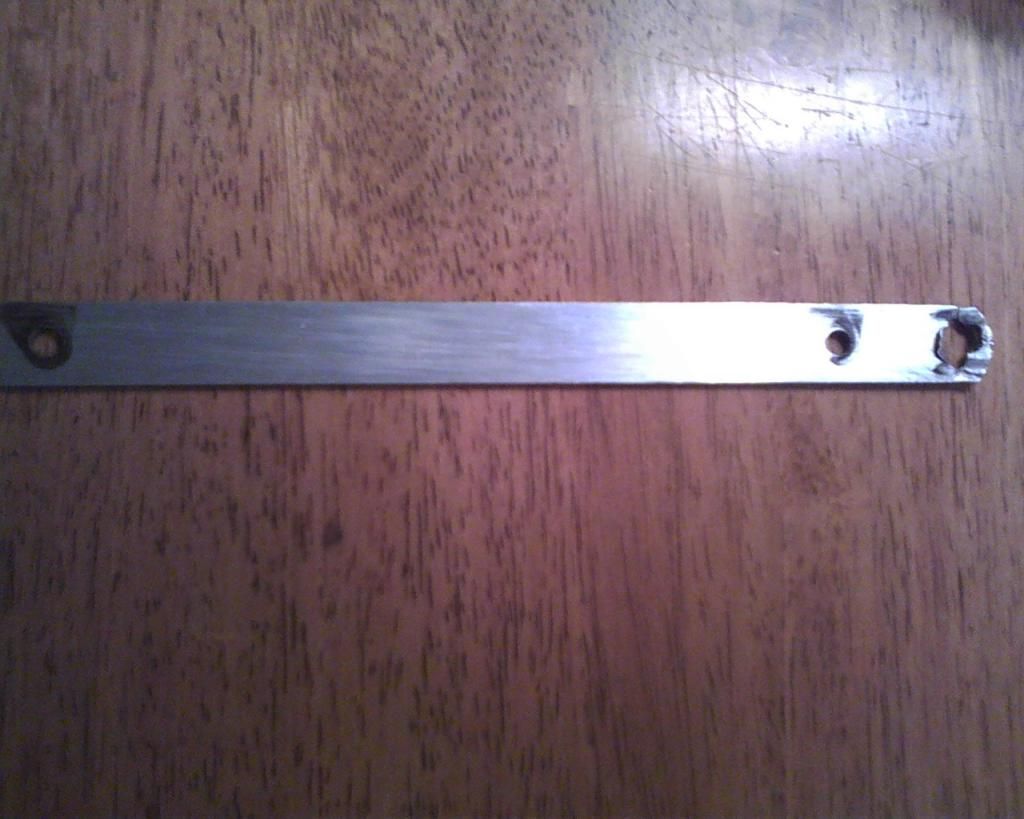 Here’s what the actuator arm looks like. Note the ripped up opening on the right side. The missing springs kind of act as a shock absorber on the arm and without them it was put under a serious amount of strain. As you can see the one side is reamed out to the point where the solenoid movement wasn’t even moving the arm anymore. I’ve said it before – coils/solenoids are strong. Comparing the manual diagram to what we found I can order everything we’re missing except for that darn actuator arm. Looked everywhere online and I just can’t find one. Even tried Australia again! So in the end we’re going to have to tool one from scratch. Not that big a deal, but it may take a little trial and error to get it just right. Also soaked some of the scored parts of it in rubbing alcohol and they cleaned up pretty nice. So to do all this I’m working on setting up a little workroom in the basement where we can tear down and spread out. We’ll also do any soldering we need to do down there. I love my machines, but I really don’t like working on them in the living room. Once that’s rolling I’ll have more to report. The Dracula will eventually get the full tear-down treatment, as well, which will including a full cleaning, waxing and possibly new rubber. 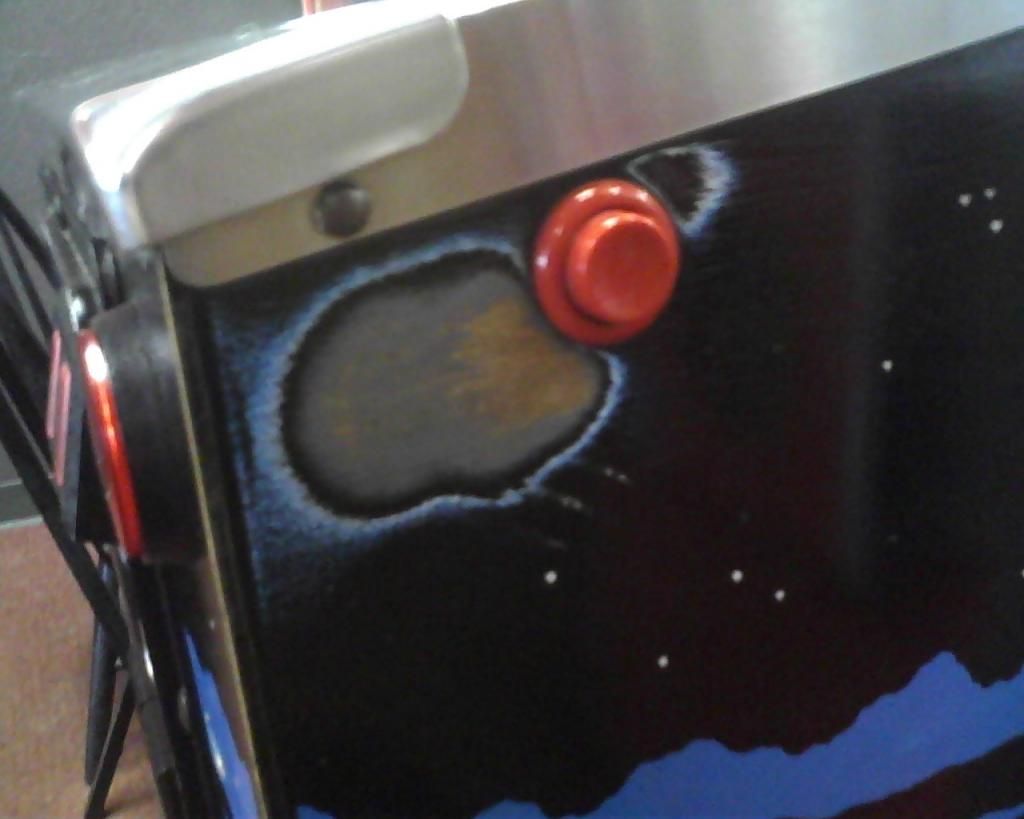 Just thought I’d include this. It’s a Dracula – same model as mine – at an area pizza joint. The pic is an example of how fingers can wear down the finish near the flipper buttons over time. My machine doesn’t have any signs of this, for which I’m thankful, and I’ll probably buy some protectors to make sure it doesn’t happen. You can buy these little static-cling patches that just stick to the cabinet around the buttons. Pretty nifty.  Also took some Fantastik to the sides of the Rollergames. I could have sworn I did this when I got it home, but I’m probably wrong. It really needed a good going-over. 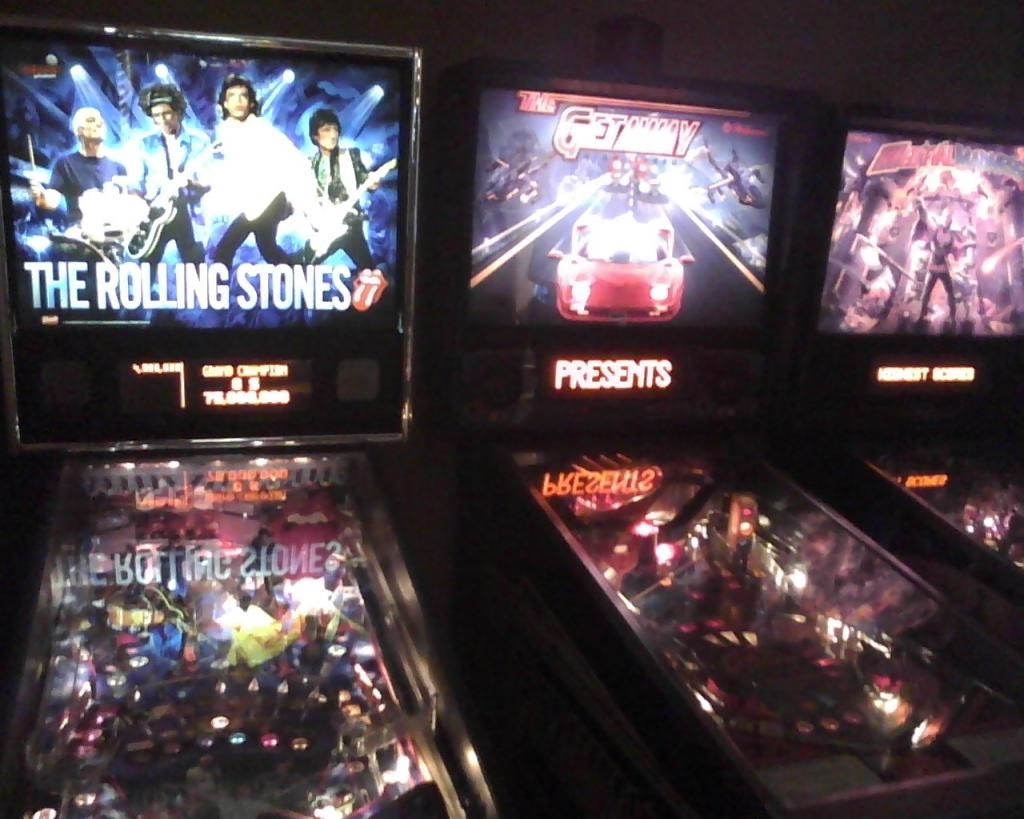 This is going back to July, but I found a trio of pinball machines at a truckstop on a weekend out of town. The Rolling Stones is the newest of these, and I’m really surprised how much I liked it. I like the Stones and everything, but I’m not sure I need a pinball machine built around them. Very fun. The middle machine – a High Speed II: The Getaway – was even better. I want one now. The Medieval Madness on the far right is one of the most desired machines in collecting, but I’m kind of sick of it having played it a lot at other locations. You often see them listed for $10,000 and up. Overpriced? For sure, but I guess these things are worth whatever someone is willing to pay for them. And some people have entirely too much money to be throwing at these things 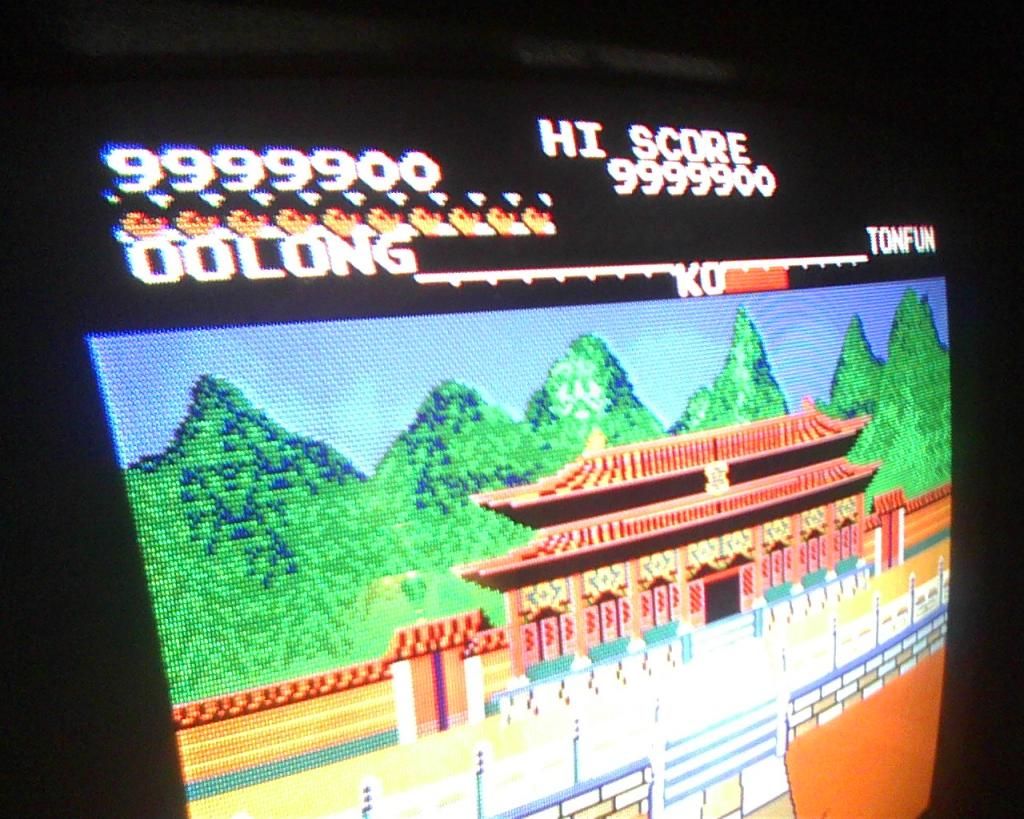 A few quick notes on Yie Ar Kung-Fu. A couple months ago I maxed out the score at 9,999,900. It took my approximately three hours to do but I felt pretty nifty about it. I did send the score into Twin Galaxies and they confirmed it. I’m the only guy to have maxed the score on the arcade version on the site, so I’m pretty pleased with that. My brother has become a pretty good player as well and has an official score with TG of over a million, but one night not that long ago he started playing and didn’t stop until he also maxed it out. That unexpected run ended at about 3 a.m., but it was a blast to watch.  And on a quick side note, what the hell is this and who came up with it? I’m intrigued but terrified to try it. More pics and so forth when we get the work room set up. Hopefully not too long from now. |
|
|
|
Post by nondescript spice on Feb 13, 2013 18:52:31 GMT -5
 here you go, mod! only five bucks a month! a gift of value! aaaaayyyy! |
|
|
|
Post by Mod City on Feb 15, 2013 20:41:54 GMT -5
Crazy! I'm glad it has automatic scoring. It's hard to score pinball by hand.
You see these home models come up for sale every now and then. Some hard core collectors really like them, but they're very difficult to repair as nobody has parts for them and they were never really designed for heavy use/maintenance.
|
|
|
|
Post by nondescript spice on Feb 16, 2013 0:27:31 GMT -5
yeah, but the scoring goes all the way up to 100,000! you can't possibly go higher than that!
i guess if you got one in perfect condition it would be cool, as long as no one ever touched it.
and i guess that is supposed to be ritchie with the fonz on the right hand side of the screen. is it me, or does it look like they're about to kiss-a-mundo?
|
|
|
|
Post by Mod City on Feb 22, 2013 17:54:43 GMT -5
Thought I'd throw an update here since we just finished our first "shop job" on a pinball machine. We removed the playfield from the cabinet and moved it downstairs to the basement and put it in a homemade rig that allows it to pivot up and down similar to how it functions when it's in the cabinet. This allowed us to get closer and allowed us to remove certain parts of the playfield that could only come out with the playfield removed. 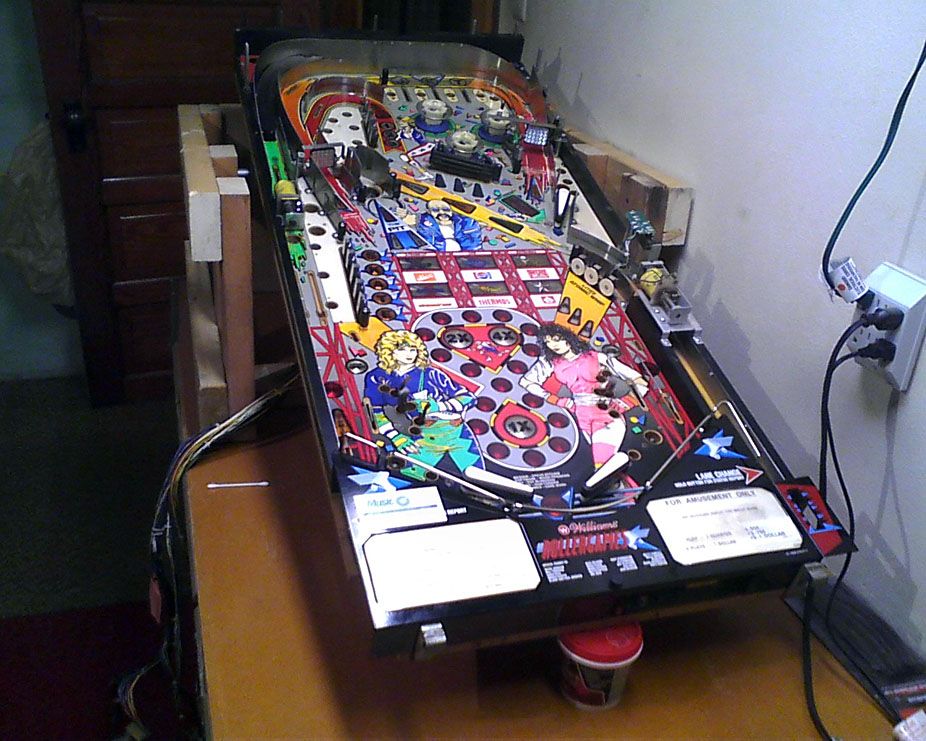 My brother made the rig one afternoon for about $15 in materials. Really works slick. 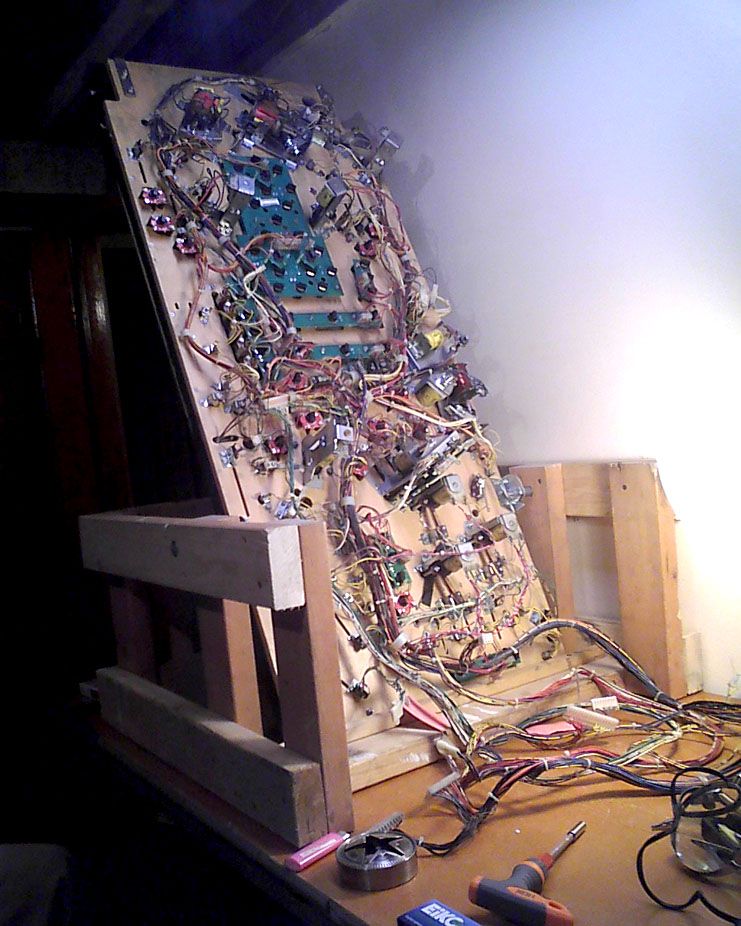 A shot of it upright. It's so much more convenient to work on it like this. 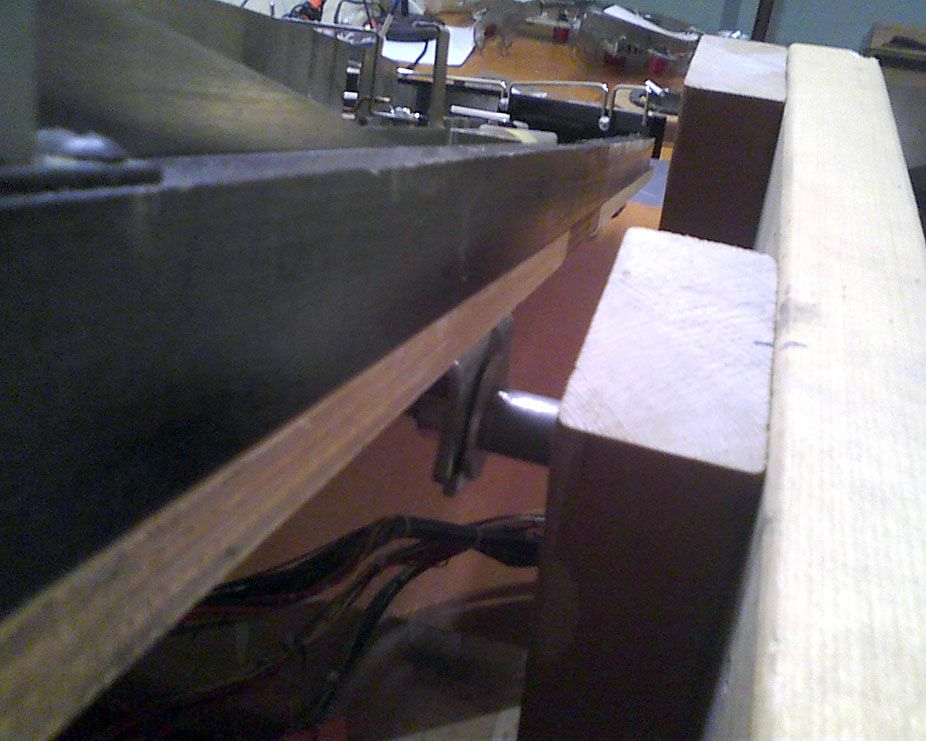 A shot of how the playfield attaches to the rig. It's a simple, effective design. 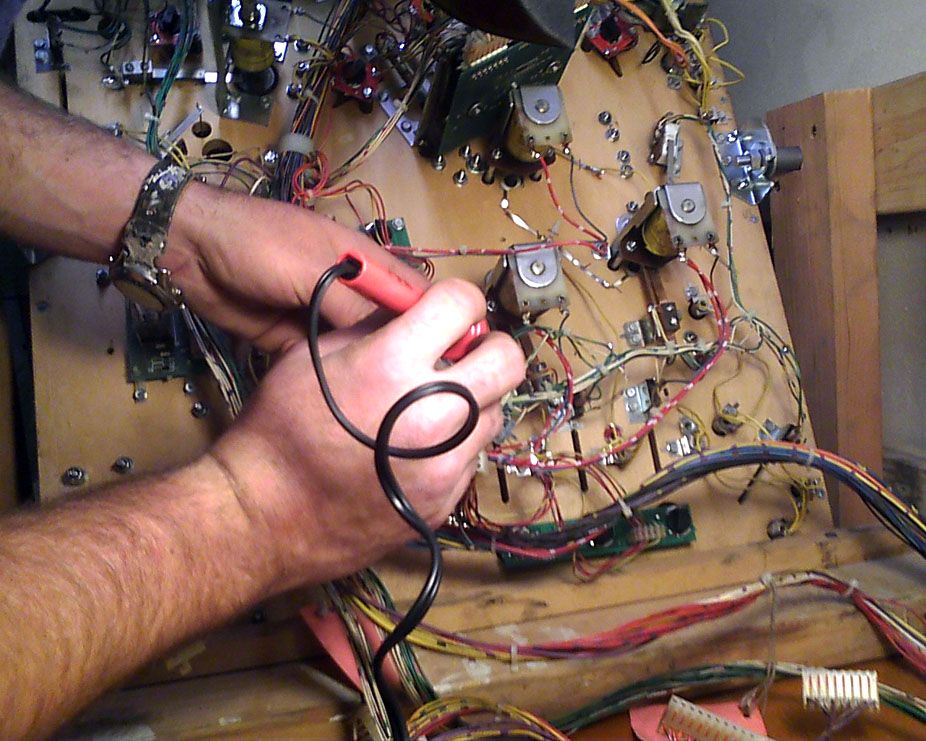 Repairing a broken diode on one of the pop bumpers. 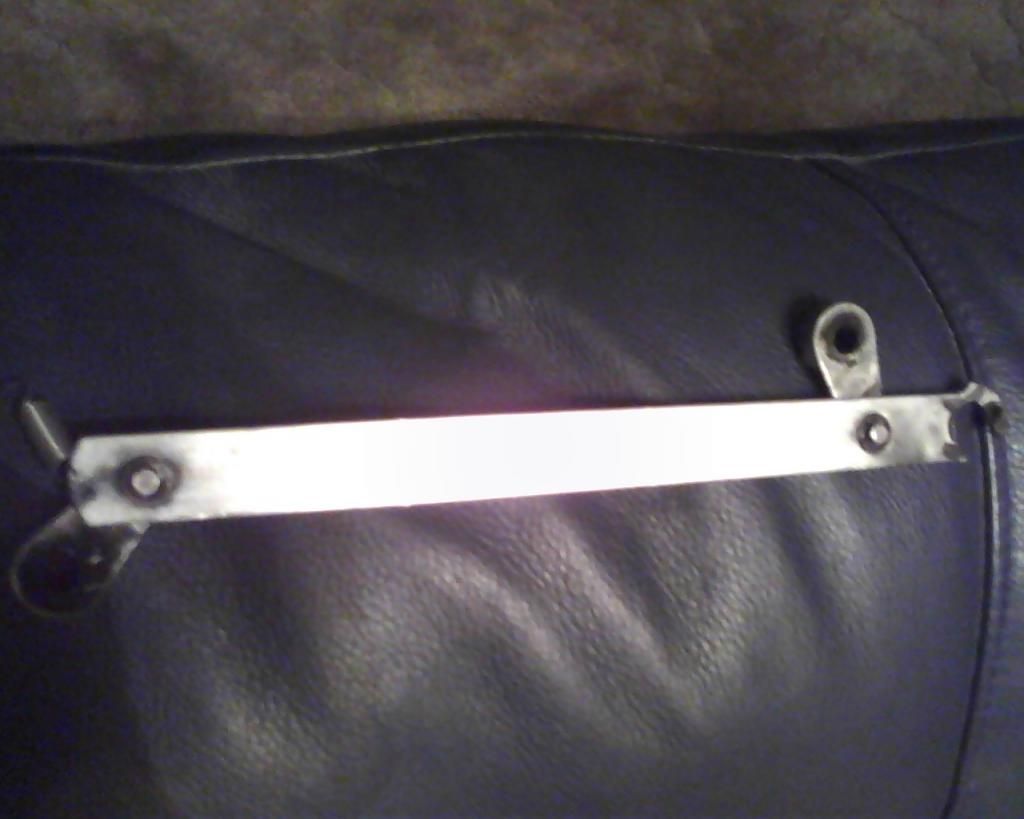 Here's the broken diverter arm I searched the globe for. Since we couldn't find one, we had to tool one ourself. After a bit of trial and error, we got it good to go.  Here's the new one installed. I'm realizing now I don't have a lot of the pics I need off my phone yet, so we'll kind of just hit the high points. We also used a heat gun to flatten the plastics the adorn the playfield. When they sit above hot incandescent bulbs for hours at a time the plastics slowly warp. Hitting them with a heat gun allows them to soften and flatten out. I have a picture of this but it's not handy. But long story short, we repaired the diverter arm, cleaned and waxed the playfield and parts were appropriate, repaired best we could some flashers that were having problems and fixed the aforementioned pop bumper. When we put the playfield back in, reconnected everything and turned it on, we had a problem. BAM! A 100v varistor, which is kind of like a fuse, burned up on the auxiliary power driver board. We had to shut it down, order some replacements and solder a new one into place. 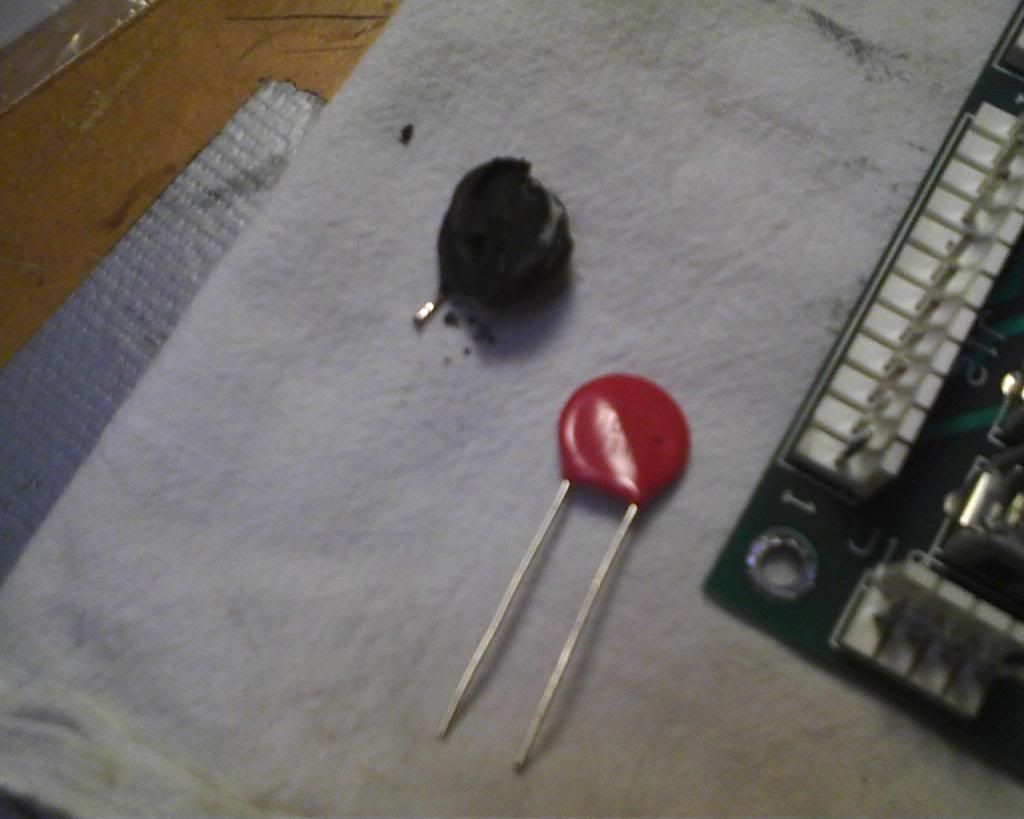 Here's a pic of the burned up varistor on the left and the replacement we put on the board. Haven't done much board work on pins but this went pretty smoothly. We eventually figured out what we did wrong (misplaced plug - damn!) and realized we had fried about 20 light bulbs by pumping about 25 volts through them. We replaced them and turned it back on. And I'll hold there for a bit until later tonight. Have to wrap up things here. The "after" pics ended up pretty nice. Will post them soon. |
|
|
|
Post by Mod City on Feb 22, 2013 20:31:16 GMT -5
Ok, time to wrap this up. Sorry for the oversized pics. I took them with my work camera but quality improvement is worth it. I didn't have time to edit them. 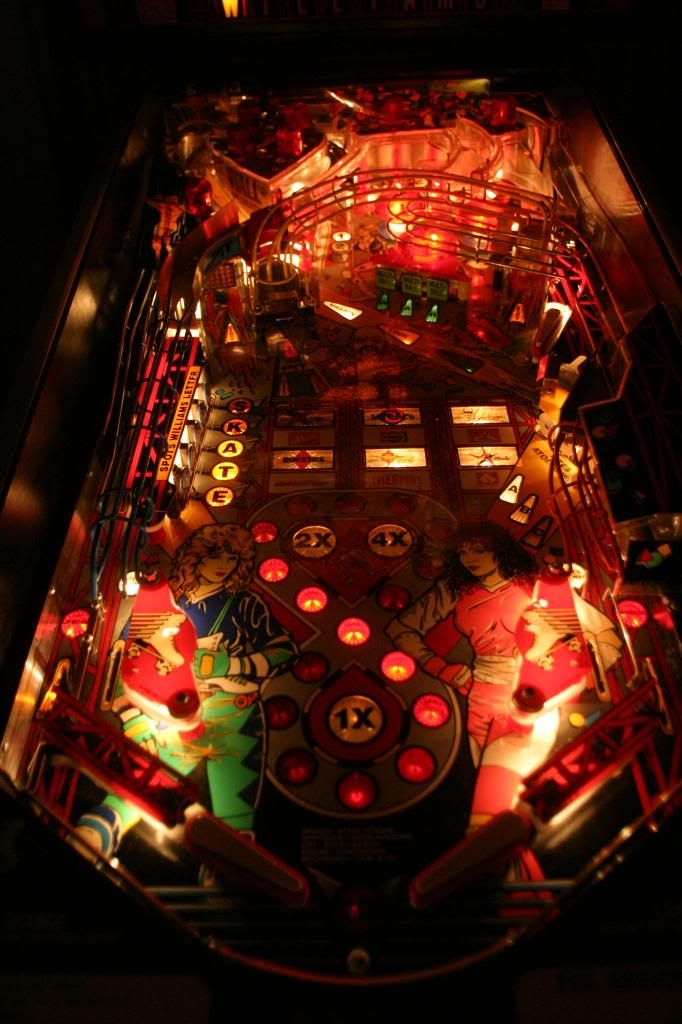 Here's the full playfield lit up during a game. We replaced every single light on the thing while we had it apart, some of them twice because of the voltage incident, so they're all bright and sharp. 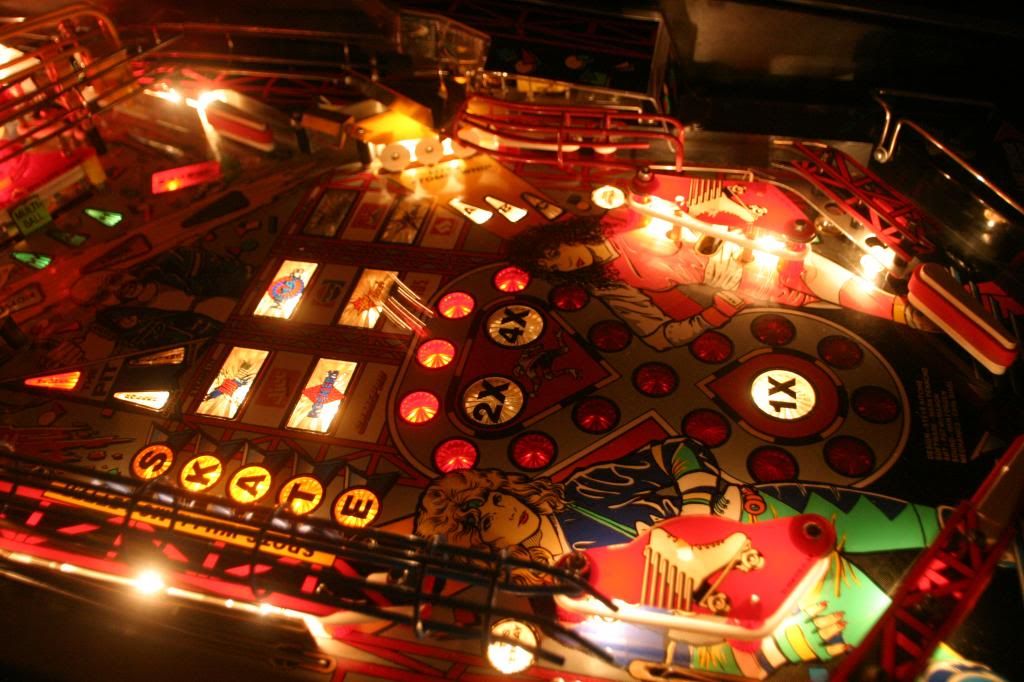 Here's a closer shot of the middle playfield. You can see the ball streak just left of center. We waxed the playfield while it was out and the difference is really cool. It flat-out shines. Not sure when the last time, if ever, it had been done. You can also see we replaced all the black worn rubber rings with new white rings. White rubber is known to play a little faster and in this case it really improves the overall look. 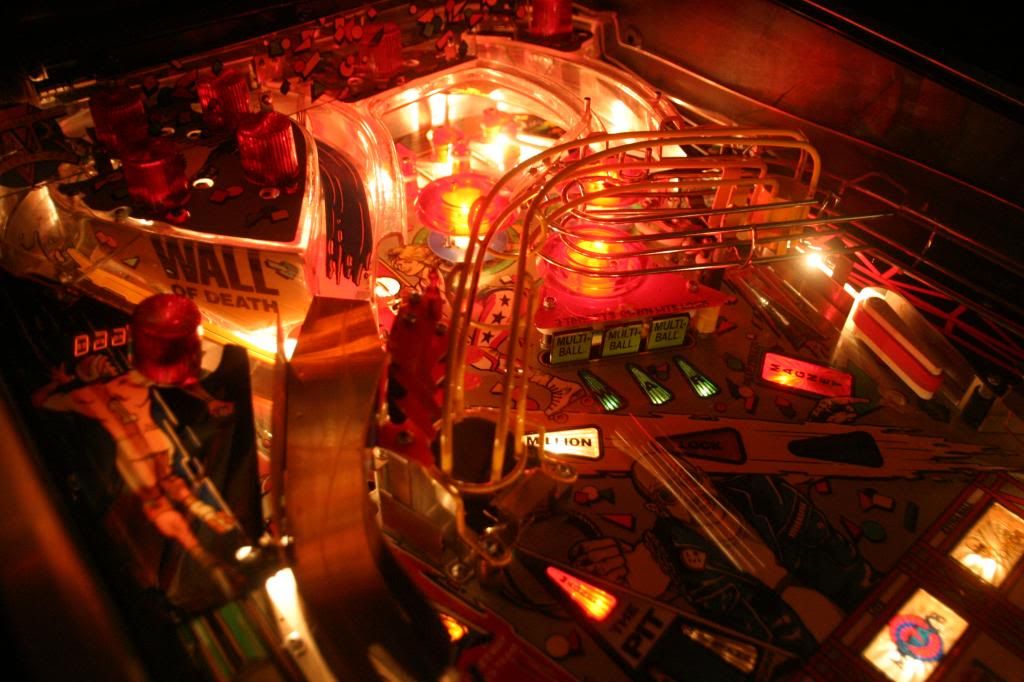 Here's the upper playfield. You can see the ball streaking again. We cleaned the clear ramps, which were filthy, and again it made a huge difference in appearance. When we ordered the new rubber "kit," it said it included red rubber for the flippers. They turned out to be way closer to pink, which you can see on the flipper here. It actually looks very nice and complements the playfield art. 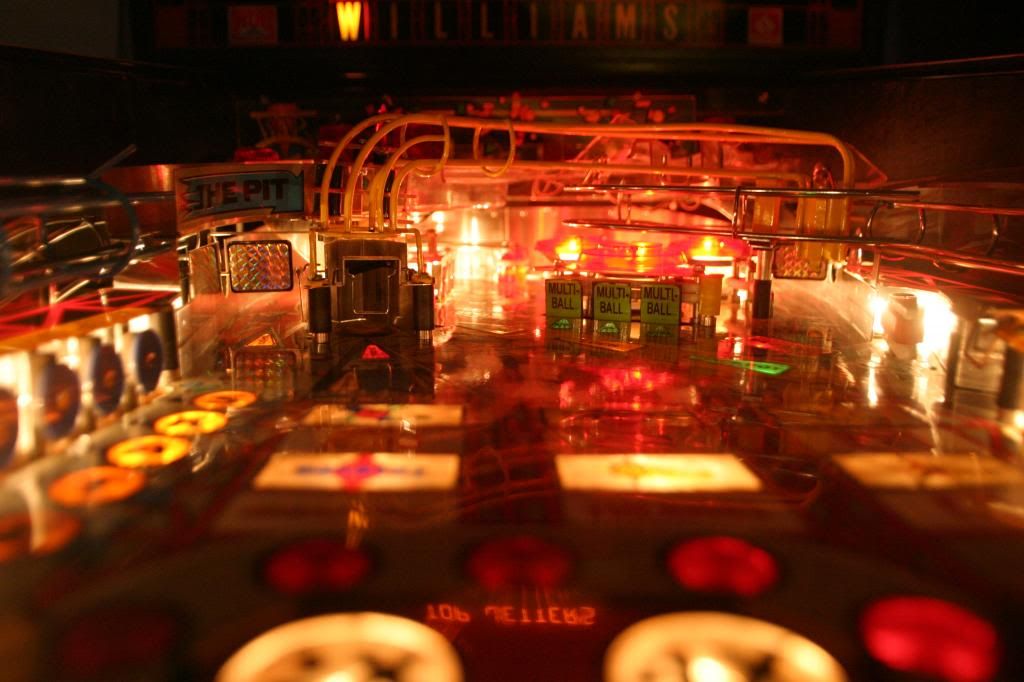 Here's what's known as "the ball's view" looking up the playfield from just above the flippers. The shine from the wax can be seen here.  And here's the translite. The previous owner had put colored LEDs in the backbox, so we swapped them out and went the original style of lamp. It's a little dimmer, but warmer, and we're happy with it. So there it is. Two and a half months of working on this thing through trial and error, but we learned a lot. I know when/if we ever do the Dracula it's going to look awesome when we're done with it, but we're ready for a break right now. |
|
|
|
Post by CBG on Feb 23, 2013 14:58:50 GMT -5
Dude...so AWESOME!!! Congratulations on your endeavor, well done. Can't wait to see how Dracula turns out. |
|
|
|
Post by Mod City on May 31, 2013 19:20:58 GMT -5
A friend of mine who was somewhat taken with my arcade hobby found himself an old Elevator Action arcade game at a pawn shop. He is waiting to move into his parents' old house when they move into their new house, so he asked if I could hold on to it at my place and work on a few issues while he waits to move into his place this fall. 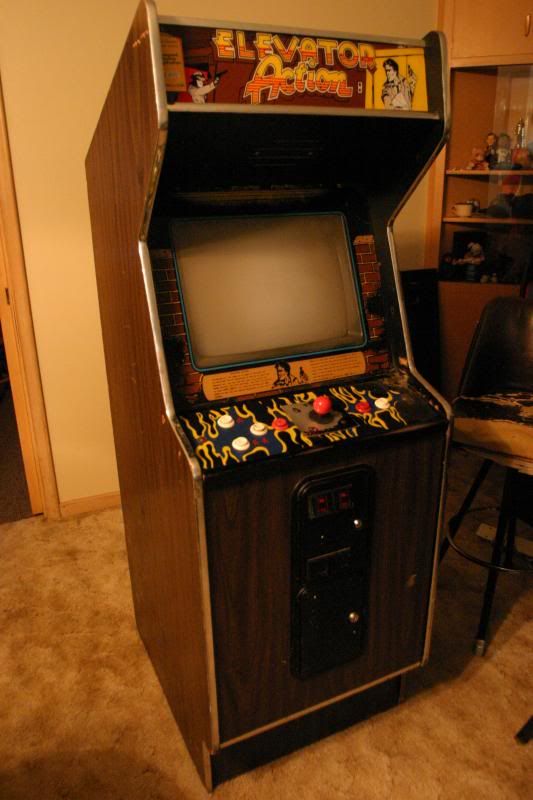 It's kind of an ugly baby, but I love, love, love the game, so I said sure. It's in some kind of ungodly-heavy generic cabinet that has seen better days. Back in the day, non-game companies would make these cabinets on the cheap so operators could buy a new "shell" for their games without buying a whole new setup. That appears to be what this is. Here's a sample of what the gameplay is like (video not of this machine). It's a real classic, made by Taito in 1983. Quite addicting and challenging. We've already worked on a few things and repaired a plug on the power supply cable that was getting so hot it would short out and reset the game (sound familiar?) We may do a full-rewire but will see what my friend wants to put into it first. The screen colors are also a bit off and uneven, so I ordered a degaussing coil. It's basically an electromagnet coil used to respread the electrons coating the cathode ray tube to make the color and tint spread even. It was something I wanted to purchase for myself anyway, and I'm kind of excited to have one. Maybe will have pics of that at another time. The Dracula project is on hold until the fall. Summer is just too busy a time to deal with that project. Edit - Just realized I have pics on my phone of us doing a "repinning" on the game PCB. I'll post those at some point in the near future whenever I can pry those things off and onto my computer. |
|
|
|
Post by Mod City on Jun 14, 2013 16:24:56 GMT -5
OK, I said I'd post this and by god, I'm gonna do it. Here's a little of the board work we did on the Elevator Action that cured the "plug-so-hot-it-feels-like-it's-going-to-melt" problem. 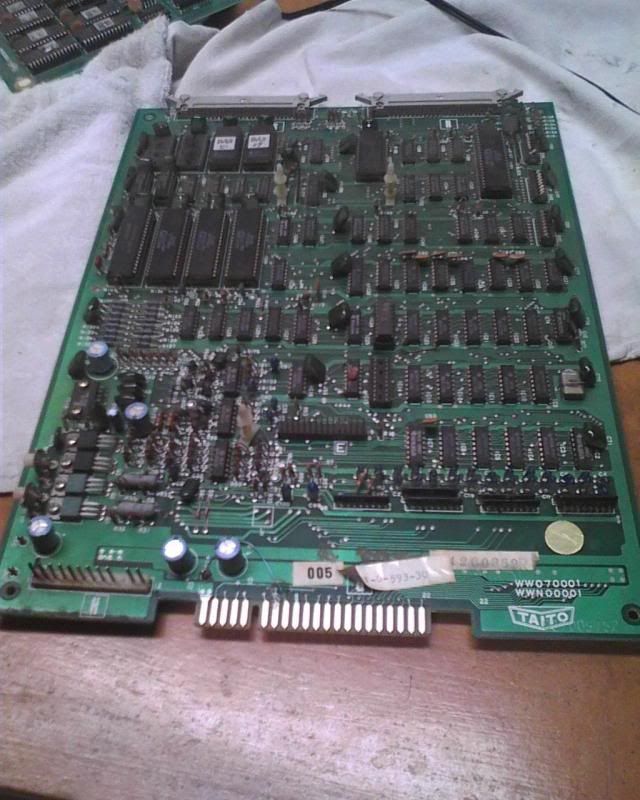 Here's the main game PCB. This is basically central command for the game program and system. I'll apologize now for the fuzzy phone pics. I wish I would break out my good camera when doing some of this stuff, but I'm usually trying to help out. Note the upright "pins" on the bottom left part of the board, positioned right above the screen-printed "H." That's for plugging in the 5-volt, 12-volt and ground connection that provides power to the board itself. It's kind of hard to tell, but the plastic and pins are burned. The plug itself was so toasted I just ordered a whole new cable that hooks up to the power supply. But we also wanted to "re-pin" this thing, which was a first for us, and a skill that would come in handy with future repairs on other machines. 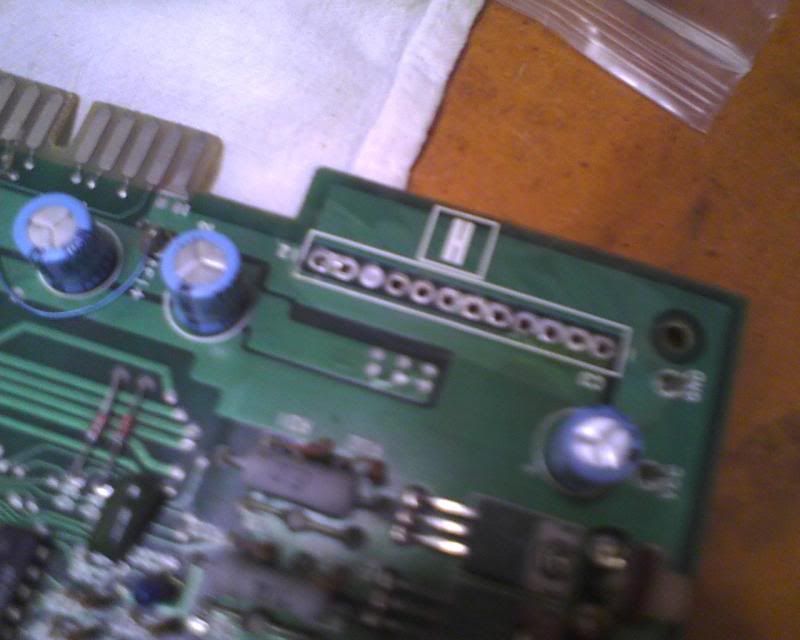 In order to do this, we had to cut the little plastic base away from the pins, then heat up the pin solder on the bottom side of the board. This would be done for each individual pin, which was then pulled through the front side when the solder was sufficiently soft. Eventually, and rather smoothly, we had the eleven pins pulled out and the excess solder sucked out of there, giving us nice, clean through-holes. 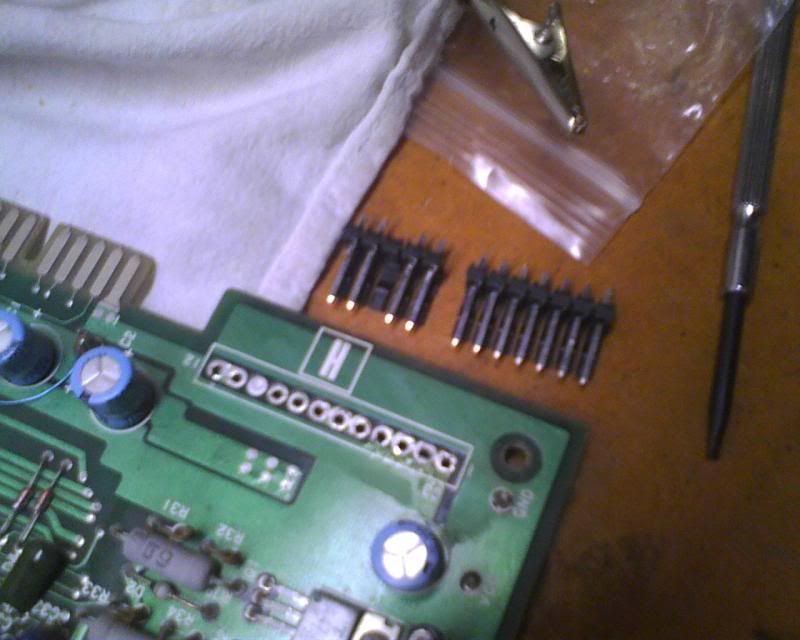 Here are the new pins before going on. I actually had two smaller sets of pins I had picked up for a pinball repair that I ended up not needing, so we clipped them down to appropriate lengths and combined them, which worked pretty well. 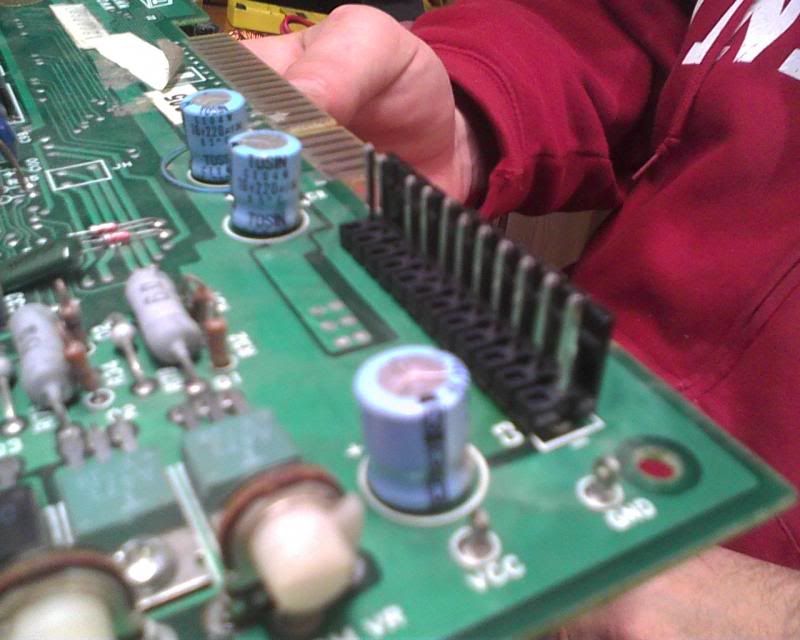 Here the new pins are mounted in the holes prior to soldering. 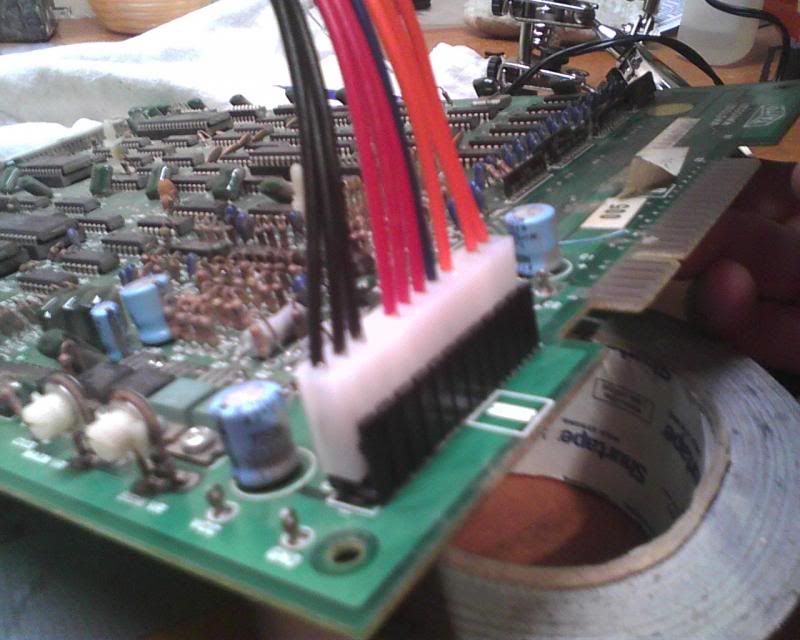 Here's the new power cable connected to the new pins. Fits nice and snug, and with the new, better-designed pins and connector working together the plug barely heats up at all.  And here it is installed in the cabinet. We were very pleased. Beforehand, that plug would get so hot it would literally burn your fingers if you touched it after the machine had been on for five minutes. Now I can leave it on for hours and it never warms up beyond cool-to-the-touch. 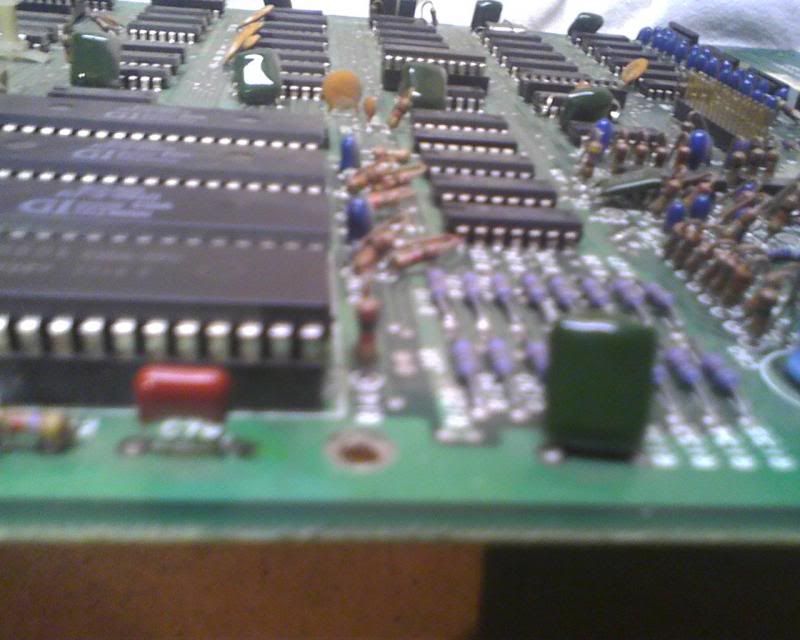 In this terrible picture, you can see two capacitors on the same board. The one on the right (brownish-green in color) is an original factory-installed capacitor. The one to the left - which is visibly much smaller - is one we installed after finding it had broken one of its legs. The new one I ordered was the same value, but tiny compared to the original (capacitor technology has shrunk them in the last 30 years, apparently). This, combined with the new pins and plug, erased our resetting problems. 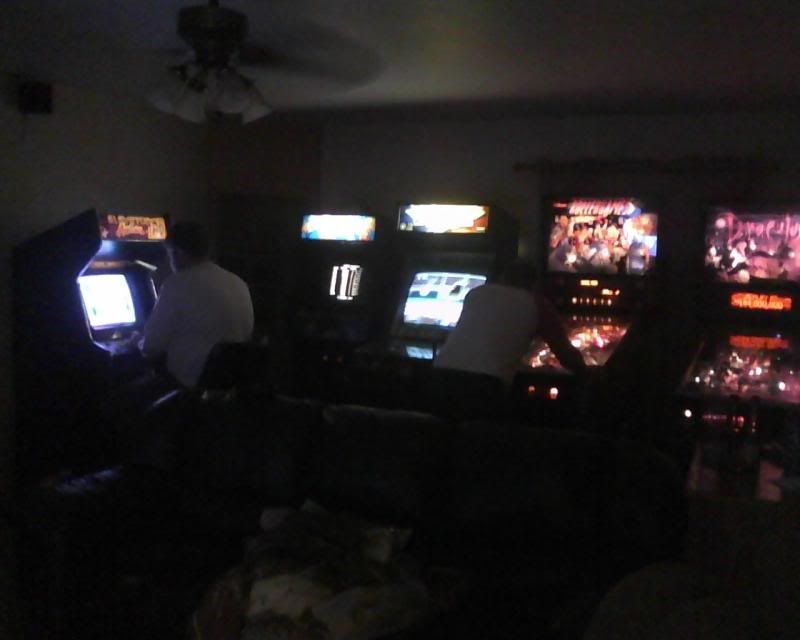 A couple friends at the "arcade." I also mentioned the degaussing coil a little while back. Well, it arrived, and its effectiveness completely shocked us. We went from a washed-out, uneven and odd colors to almost uniformly perfect color. We did not expect it to have that much of an effect, but boy did it ever. I don't have any good pictures of before and after, but I do have a goofy video of my using the thing. It's basically a 19-inch plastic hoop with copper wire wound around the inside. When it's on, it produces a magnetic field that can help correct color problems. To use it, you stand about seven feet away from the screen (turned on), and then switch the coil on. Moving the device in circles parallel to the surface of the screen, you move closer and closer to the screen, making smaller and smaller circles until you're right on top of the screen. Then do the same in reverse. The screen pretty much goes crazy, blasting color all over and waving madly. When you're done, the color really pops. The process of using it, however, looks like some kind of witch doctor ritual. Still, it's worth it. We knew it would help, but were surprised by how much. What a great feeling. I'll try to get a picture of the coil up at some point, anyway. We're in neutral right now on other projects until we make a decision on what to do next. I'd like to do a full capacitor kit on the Yie Ar Kung-Fu monitor, then degauss it and rejuvenate it. That's the plan right now. |
|
|
|
Post by nondescript spice on Jul 2, 2013 14:30:18 GMT -5
|
|
|
|
Post by Mod City on Jul 3, 2013 11:45:32 GMT -5
I'll bet you'd have one hell of an interesting game room if you could appoint it yourself, spice |
|
|
|
Post by nondescript spice on Jul 3, 2013 12:47:10 GMT -5
oh, i'm all about that dynamic total playfield action.
|
|
|
|
Post by Mod City on Oct 2, 2013 21:28:29 GMT -5
OK, way overdue for something here. I wish I could say I have a ton of new machines to show off, but funding for those machines is tight right now, so I continue to noodle away with what I have. That's fine, really. There's plenty to do yet with these. First off, we still haven't started on the Dracula shop out, but I'm confident we'll be at it by the end of this month. We've already brainstormed what needs to be done (we have a list and everything, and that's saying something for us), and other fall hobbies and obligations will wrap up. This is about the time we started the Rollergames job last year, so it makes sense. And this will probably take us longer. Now on to the long-winded technical stuff. Proceed at your own risk Otherwise the biggest thing we did was perform a "clean and refresh" on the Yie Ar Kung-Fu monitor. This involves hooking up what's known as cathode ray tube rejuvenator to the monitor tube in the cabinet. Basically, a rejuvenator is a device that TV repair places used back in the day when people still bought their TVs without the intention of just throwing it away in five years. Over time, the three electron guns that give the screen the red, green and blue colors get gunked up, and this device blasts a higher leave of current through the guns, blasting off that gunk. It's kind of a tricky process, and it's kind of a last-ditch option for brightening up a dull screen. It can fry the tube altogether, and tubes are getting harder and harder to find. 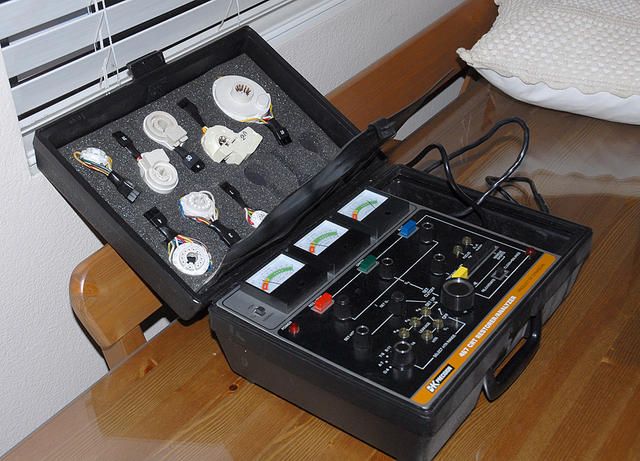 This is the model I picked up from a guy on an arcade forum. It's a BK467 made back in the 1970s, I believe. This isn't actually mine, as 99 percent of the pics I took while using mine got lost somehow. In the back of the case you can see the various adapters for it. You need adapters because different tubes have different connecting pin arrangements. It's also a passive analyzer. It can tell you if the emissions for certain guns are below ideal, leaving you to decide to risk a rejuv. 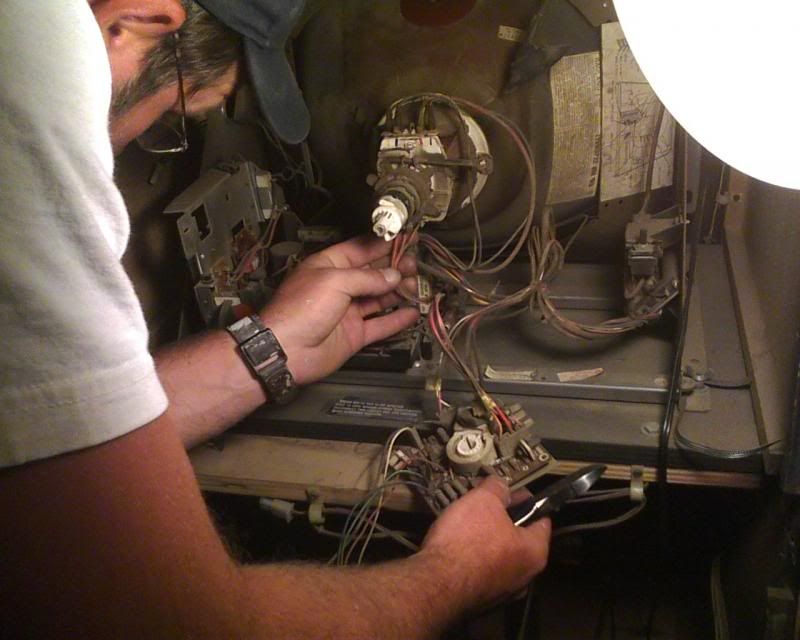 This is the only other picture of the process that I have. This is the back of the YAKF monitor. The monitor chassis, or the electronics that communicate with the game boards and then tell the tube what to put on the screen, can be seen behind his left hand and in his right hand. His right hand holds the neck board, which attaches to the pointed part of the monitor. That pointed part is where the adapter on the BK467 attaches. So we analyzed the tube and decided to do a clean and balance, which is a "softer" version of a full rejuvenation. Something to try with less risk. It turned out well, though we're not sure if we saw a whole lot of improvement (though the analyzer indicated it did improve emissions). It likely didn't need a rejuvenation, but we weren't gonna know unless we tried, right? Besides, we had to try the process once. It involves looking up voltages and turning knobs and watching where the needle reads and then pushing a button while the tube neck (that pointy part) actually glows with electricity. It really is like something out of Frankenstein. The other thing we did was a cap kit on the monitor, something else we had never done. As I believe I went over somewhere, over time, capacitors go bad. This is also true of caps on a monitor chassis (mentioned above). In order to help combat this, some arcade outlets sell cap kits that contain replacements for the essential capacitors on the board. All you have to do is remove the old ones and put the new ones on. We had about 20 capacitors in the $15 kit I picked up. 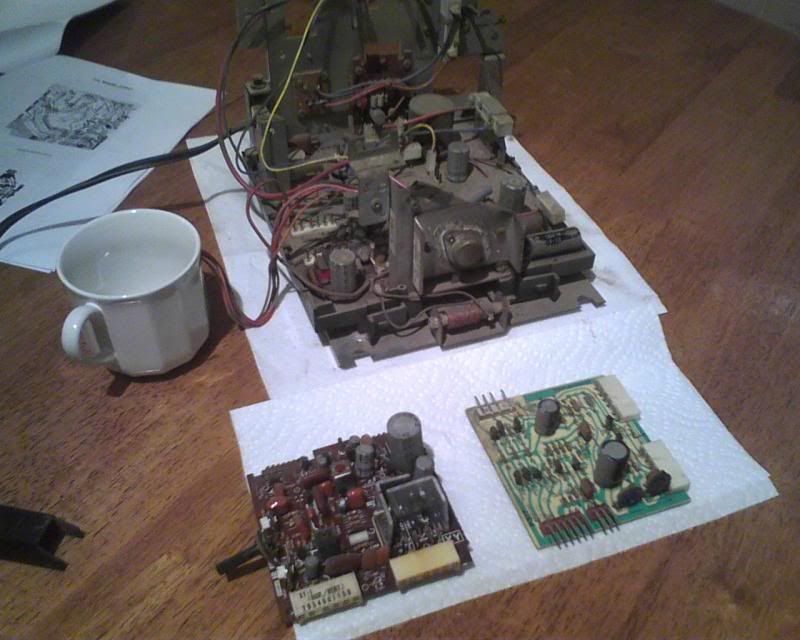 Above are the three boards that make up the YAKF monitor chassis - in this case these boards comprise a Wells Gardner K4600 series chassis. It's pretty common to find these in a 1980s arcade cabinet. Wells Gardner was one of several chassis manufacturers, with most making several different models of chassis. WG for example had the K7000 and K4900, among many others, all comprised of unique boards. They all did basically the same thing but for different kinds of tubes. Obviously, these are filthy, but these things are old and delicate, so they say if it's working and it's dirty, don't clean it. Plus, monitors cause this intense waxy dust to build up on stuff that is impossible to get off. We only cleaned a little where we couldn't read the PCB trace labels. The caps we were replacing are the objects on the board that are shaped like beer cans. 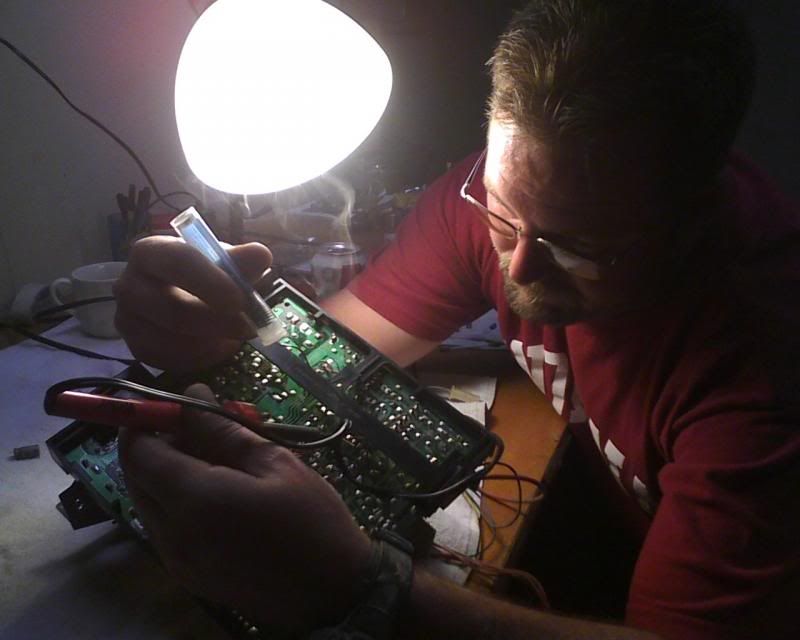 Here my brother solders a cap into place from the underside of one of the chassis boards. The caps we were replacing are polarized, so if we installed them backwards (not hard to do), they would explode on power-up. So we took our time to make sure we got it right. It's apparently quite a show to get it wrong, and can damage the board, as well. 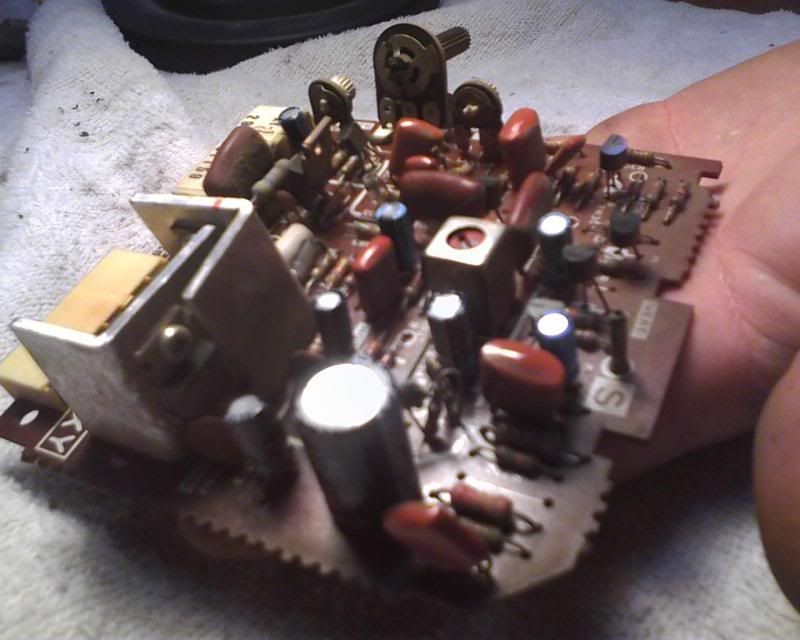 Here's a fuzzy closeup of one of the boards. You can see these important beer cans better So we did that, put it back together, held our breath, and flipped it on. After a very tense warmup of a few seconds, it came on. No explosions and the picture did look brighter. Success. Exhale. Also, in order to do all this, we had to disconnect the chassis from the tube, which requires us to discharge the monitor. On color monitors, the tube and chassis can hold up to a 25,000 volt DC charge even after the power switch is off and the machine is unplugged. Apparently getting zapped with this is NOT fun and can also cause health problems (death by monitor is an well-known urban arcade legend, but you can definitely seriously injure yourself, so I'm not ruling out that it could kill you). 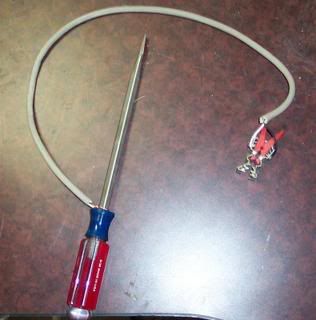 Again, the above tool isn't mine but it's the exact same principle. A screwdriver (plastic handle) with a length of heavy-gauge wire attached to it and a clip at the end. 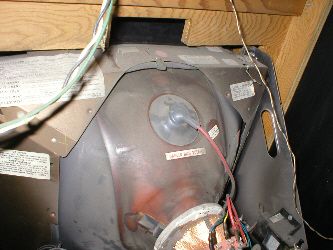 In he monitor pic above, again a stock monitor photo because you can't see it in my lone photo, you can see the suction cup covering the connection between the flyback transformer (part of the chassis), which provides the high voltage for the monitor, and the tube. In order to discharge everything, you take the alligator clip on the screwdriver and ground it (even the metal frame inside the cabinet works), then stand back and slide the tip of the screwdriver beneath the suction cup until you hit the metal connector, making sure you're not touching anything attached to the ground. Then - POP! - and your monitor is discharged. They say to do it a few times to make sure the charge is fully gone, so we did. You can then work on it as you need. OK, that was a lot of stuff. This seems like it's taken me forever. Just to close: 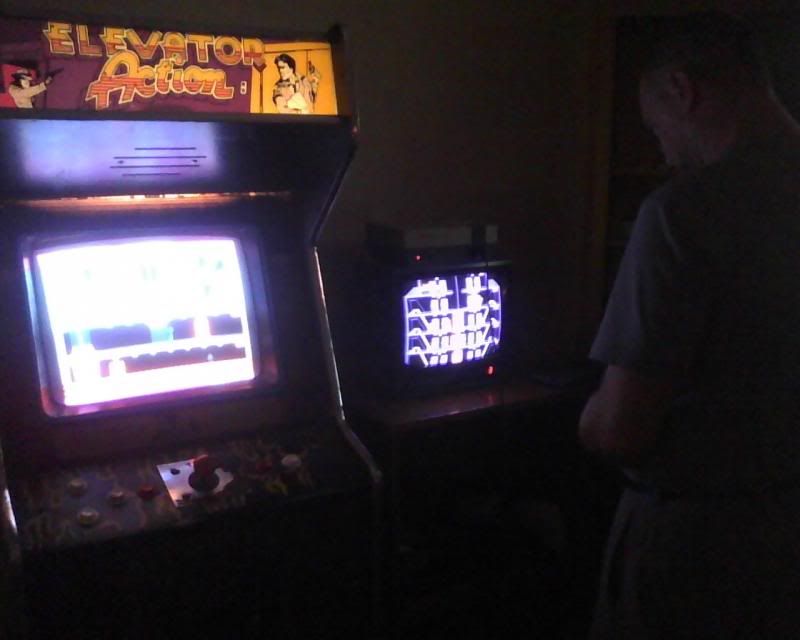 I put a little stand in the corner for an original Nintendo that I had sitting around, just so it's available to play if someone feels like it. It's using a tiny little TV, so it has a very nice dorm room kinda feel. We're mostly Gen X around here, so it gets a fair amount of use. Someday I'll have the Commodore 64 and the Apple IIgs up and running games. Try to outnerd that, people |
|


